ISA-Ethernet Adapter NE2000 UM9003AF
Driver for ISA-Ethernet Adapter NE2000 UM9003AF:
Support: Win3x,W9x,NT,W2K use NE2000 compatible, you can configure the irq&address.
GoldStar PRIME 2 IDE I/O CARD Hard Disk/Floppy Controller.
Specifications:
Data bus: | 16-bit, ISA |
Size: | Half-length, full-height card |
Hard drive supported: | Two IDE(AT) Interface drives |
Floppy drives supported: | Two 360KB, 720KB, 1.2MB, or 1.44MB drives |
Function | Location | Setting |
Floppy drive enabled | J1 | pins 1 & 2 closed |
Floppy drive disabled | J1 | pins 2 & 3 closed |
Floppy drive port address is 3F0-3F7h | J2 | pins 1 & 2 closed |
Floppy drive port address is 370-377h | J2 | pins 2 & 3 closed |
Hard drive enabled | J3 | pins 1 & 2 closed |
Hard drive disabled | J3 | pins 2 & 3 closed |
AT Hard drive port address is 1F0-1F7 & 3F6-3F7h | J4 | pins 1 & 2 closed |
AT Hard drive port address is 170-177 & 376-377h | J4 | pins 2 & 3 closed |
XT hard drive port address is 320-323h | J5 | pins 1 & 2 closed |
XT Hard drive port address is 324-327h | J5 | pins 2 & 3 closed |
IDE(AT) drives supported | J6 | pins 1 & 2 closed |
IDE(XT) drives supported | J6 | pins 2 & 3 closed |
Serial port 1 enabled | J7 | pins 1 & 2 closed |
Serial port 1 disabled | J7 | pins 2 & 3 closed |
Serial port 1 set to COM1 and IRQ4 | J8 | pins 1 & 2 closed |
Serial port 1 set to COM3 and IRQ4 | J8 | pins 2 & 3 closed |
Serial port 2 enabled | J9 | pins 1 & 2 closed |
Serial port 2 disabled | J9 | pins 2 & 3 closed |
Serial port 2 set to COM2 and IRQ3 | J10 | pins 1 & 2 closed |
Serial port 2 set to COM3 and IRQ3 | J10 | pins 2 & 3 closed |
Parallel port enabled | J11 | pins 1 & 2 closed |
Parallel port disabled | J11 | pins 2 & 3 closed |
Parallel port set to LPT1 and IRQ7 | J12 | pins 1 & 2 closed |
Parallel port set to LPT2 and IRQ7 | J12 | pins 2 & 3 closed |
Sound Blaster 16 (June 1992), the successor to the Sound Blaster Pro, introduced CD-quality digital audio to the Sound Blaster line.
The Sound Blaster 16 WavEffects (CT4170) was released in 1997 as a cheaper and simpler redesign of the Sound Blaster 16. It came with Creative WaveSynth also bundled on Sound Blaster AWE64 Gold, a physical modeling software synthesizer developed by Seer Systems (led by Dave Smith), based on Sondius WaveGuide technology (developed at Stanford’s CCRMA).
The WavEffects line also supports CQM synthesis for Adlib/OPL compatibility.
More you can find in Wikipedia: https://en.wikipedia.org/wiki/Sound_Blaster_16
Here you can download Sound Blaster 16 manual:
Motherboard SFL 40V0 9247 designed in 1991.
Installed processor AMD Am386 SX-33
Back side:
On motherboard installed processor AMD Am386 SX-33 and Math co-processor: ULCI Systems 9244PA
The Am386 CPU is a 100%-compatible clone of the Intel 80386 design released by AMD in March 1991. Max. CPU clock rate 20 MHz to 40 MHz
More about this CPU you can find in Wikipedia: https://en.wikipedia.org/wiki/Am386
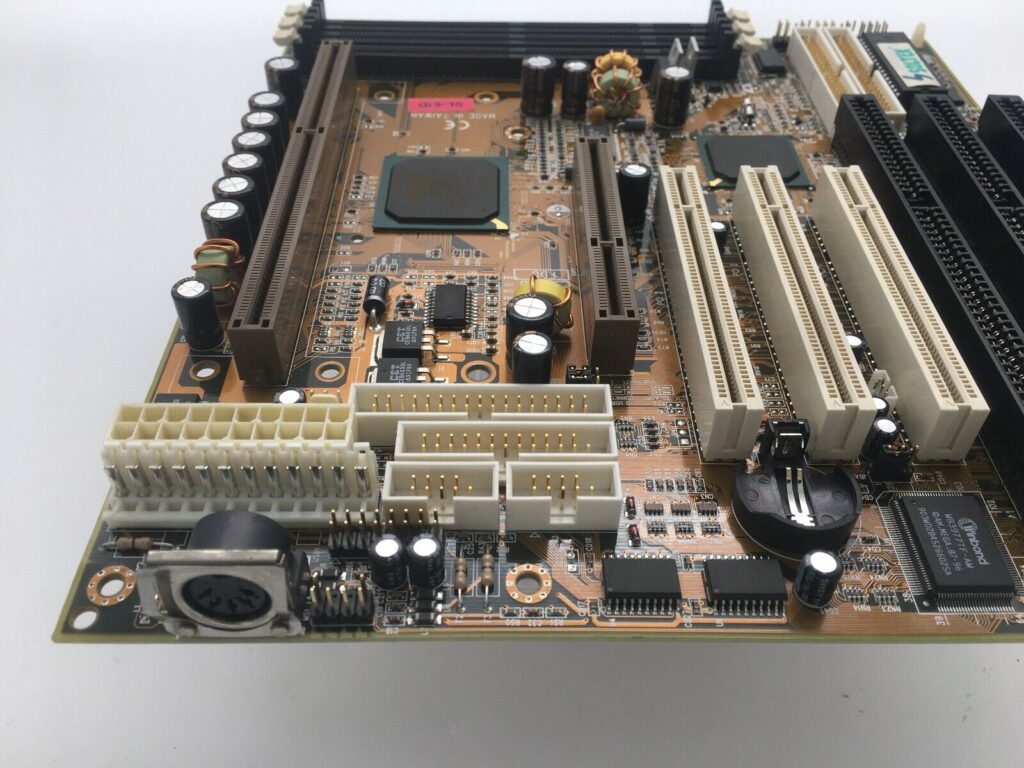
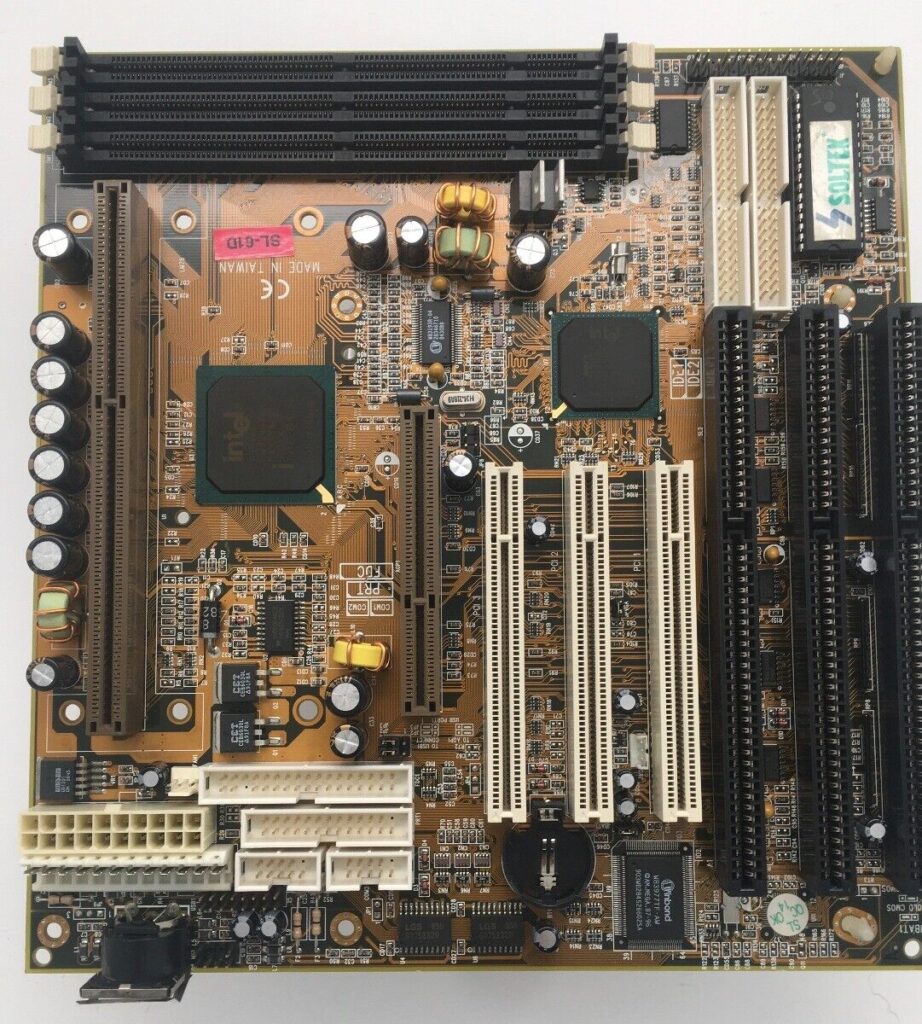
The 6BX85/6ZX85/6VIA85/6VIA85P is designed for the PC user’s who want many new key features processed by the fastest CPU in a economic package.
This motherboard:
New general CPU support :
– Intel Celeron (300AMHz–500MHz) processor.
– Intel Coppermine (500MHz–733MHz) processor.
– Socket: PGA370.
– CPU clock select support for 66/100MHz and up to 133MHz (6VIA 85P) CPU bus speed configuration.
Main features
Manufacturer ACORP
Mat chipset. Intel 440ZX
Socket 370 processor ppga socket
At board format, 22×22 cm
CPU support
Supports Intel Celeron Mendocino series processor types
Compatible processors
Bus frequency 66, 75, 83, 100 MHz
Multiplication is defined by the processor
Memory Support
Number of Simm/DIMM 0/2 slots
Max RAM 512 MB
Disk System
Support UDMA / 33 Yes
Slots for installing expansion cards
ISA / PCI / AGP 2/3/1 slots
Other features
BIOS Award BIOS
Monero is a private, decentralized cryptocurrency that keeps your finances confidential and secure.
To start using Monero go to official website: https://www.getmonero.org/ and download one of the available wallets.
Then download mining software Xmrig form official Github repository: https://github.com/xmrig/xmrig
Select mining pool on site: https://miningpoolstats.stream/monero
And read instructions how to configure miner for current mining pool.
Zsh is a shell designed for interactive use, although it is also a powerful scripting language.
To install Zsh on Debian, Ubuntu or Linux Mint use command:
sudo apt install zsh
Next install “Oh My Zsh” – delightful, open source, community-driven framework for managing your Zsh configuration. Use command:
sh -c "$(curl -fsSL https://raw.github.com/ohmyzsh/ohmyzsh/master/tools/install.sh)"
If you want to change zsh theme go to: https://github.com/ohmyzsh/ohmyzsh/wiki/Themes
In order to enable a theme, set ZSH_THEME
to the name of the theme in your ~/.zshrc
nano ~/.zshrc
Some themes need custom fonts, install it from git: https://github.com/powerline/fonts
git clone https://github.com/powerline/fonts.git --depth=1 cd fonts ./install.sh
1. Download new application launcher from site: https://store.kde.org/browse?cat=398&ord=latest
2. Run command:
plasmapkg2 --install LauncherName.tar.gz
If you want to upgrade launcher to new version use command:
plasmapkg2 --upgrade LauncherName.tar.gz
3. Right click on Start Menu icon > Show alternatives > Select LauncherName
If you want to uninstall launcher use command:
plasmapkg2 --remove LauncherName.tar.gz
1. First download official ISO image from Proxmox website: https://www.proxmox.com/
2. Write ISO image to USB flash drive using program Etcher: https://www.balena.io/etcher/
3. Boot PC from USB drive and install Proxmox. If you have two hard drives you can use ZFS file system to create RAID array.
Now log in to Proxmox admin panel using Web-browser: https://server-ip-address:8006
After installation we need to upgrade our system. Proxmox based on Debian GNU Linus and it use Debian repositories but in free version of Proxmox we will have an error when we try to upgrade. We need to disable enterprise Proxmox repositories. Open file /etc/apt/sources.list.d/pve-enterprise.list and comment with symbol # first line with enterprise Proxmox repository.
nano /etc/apt/sources.list.d/pve-enterprise.list
Then we can update packages list and upgrade our system:
apt update apt upgrade
After installation let’s configure Local storage.
In admin panel go to Datacenter -> Storage, select local-lvm storage and click Remove
After that go to your Node -> Shell and write next commands:
lvremove /dev/pve/data lvresize -l +100%FREE /dev/pve/root
And the last command to resize our local storage to 100% is:
resize2fs /dev/mapper/pve-root
Done, now we can use 100% of local storage, installed in our server. If you click on local storage you can see entire size of hard drive.
To remove the “You do not have a valid subscription for this server” popup message while logging in, run the command bellow:
sed -Ezi.bak "s/(Ext.Msg.show\(\{\s+title: gettext\('No valid sub)/void\(\{ \/\/\1/g" /usr/share/javascript/proxmox-widget-toolkit/proxmoxlib.js && systemctl restart pveproxy.service
If you have MySQL database files and you want to restore database on new server do next steps:
1. Stop MySQL server:
systemctl stop mysql
2. Copy all files of database to /var/lib/mysql directory;
3. Also copy files:
/var/lib/mysql/ibdata1
/var/lib/mysql/ib_logfile0
/var/lib/mysql/ib_logfile1
4. Change user and group of all files in directory /var/lib/mysql to mysql:mysql:
chown -R mysql:mysql .
5. Change permission of files in directory /var/lib/mysql to 660
find . -type f -print0 | xargs -0 chmod 660
6. Start MySQL server:
systemctl start mysql
To restore database from SQL dump use command:
mysql -u [user] -p [database_name] < [filename].sql